Sunday, 30 September 2012

Chapter 1 Birds in Art and Stitch

The bird houses would lend themselves to Applique or Patchwork

The bird cages could be worked in free machining.  the are lots of cushions etc using thse images.
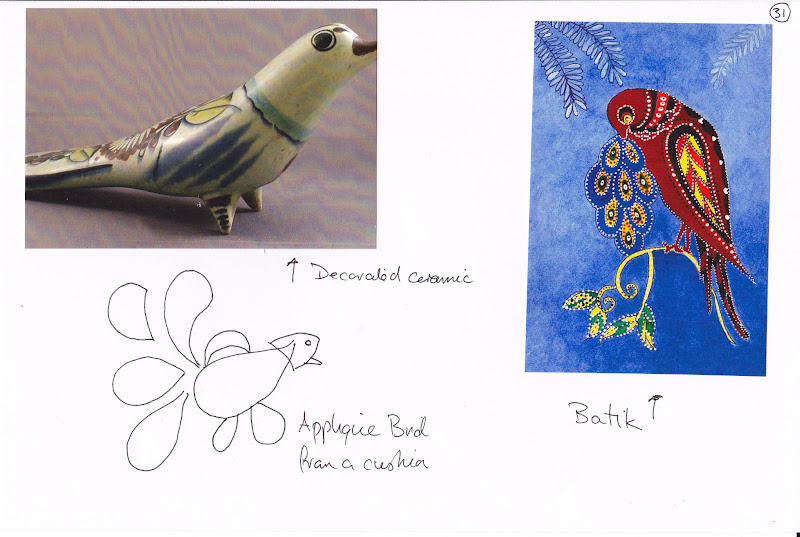
 Bird images on ceramics.

 
Taken from William De Morgan tiles


The sculpture top left loooks like net and stitching although it's worked with chicken wire .  The bottom left, made from scraps of machine parts and the Art Deco bird could be used for embroidery. I love the texture and colours of teh bottom right .


On textiles.......


 Thes birds could be useful for prints in Chapter 2.


 The time log  shows onlt the time taken to print and collate my collection of images etc into sections with some drawings added to try to give the range of images for this Module


MODULE FOUR Chapter 1


 Drawing in 2H and 4H pencils

 Simplified birds based on drawings in an embroidery book. These might be useful  for prints in Chapter 2
 The photo on the right is original, taken of a hand reared duck on a friend's pond.  The water colour below is an exercise in shading.

 More original photos of friend's livestock, except the cockrel which is from the internet.


 More watercolour exercises...........
....... and the image lower right.
 Birds drawn on the ipad using a "Flowpaper" app


 I collected a number of feathers but thy were'nt very interesting so I used a range of filters on Photoshop Elements to generate more interesting images.


I love the range of patterns and tones on the eggs.


These camouflage images were photocopied from a book on birds
 I used the same book for the feet and beak drawings.


 These bone drawings were done using internet images on the ipad.


Wednesday, 4 July 2012

Chapter 10 finishing

 Arranging the eye pieces (above) and the eyes stitched in place


 The beak stitched in place
 and a close-up

 and the mane curled and twisted


What to use for the pole was a bit of a headache because I don't have access to a lathe  so I used a paintbrush handle, sanded off he varnish and painted it with Acrylic paint.
 I sketched ideas for decoration of the pole
 As the pole is tapered the beads had to be made in situ.  The dark pink bead neatens the tassel and is made with double sided tape to hold everything securly in place.

 Sticky backed Velcro at the top of the pole attaches it to the back of the mask


 The finished piece!!!!!!!

 I wouldn't say that this is the best ever, but I am quite pleased with the finished piece.  


 There has been so much to learn, try out and experiment with in this Module and I think I had some inspired ideas too. There were so much stitching, I had to get the maachine serviced and keep oiling it!!
I loved makng the backgrounds, edgings. braids and fringes but the tiny tassels were the best part.  This technique was new to me so I enjoyed experimenting with threads and various sizes of frame.
I am much happier with drawing and designing in general now but I found the distorting of shapes difficult.  I  need to remind myself to "think outside the box" at times.  I think my free stitching technique has improved and I don't think of using a frame for smaller pieces.    I have always collected materials and worked samples before starting a piece of work but this Module has taught me how to use  research and sketching to develop a design.  I have lots of ideas for future projects, thanks to chapter 8.